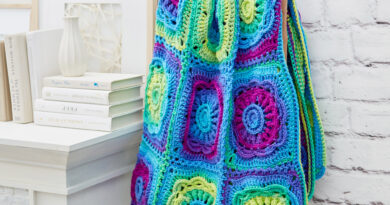
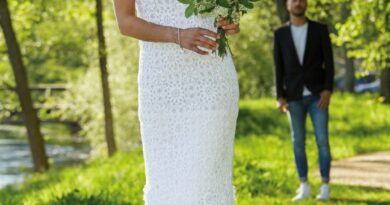
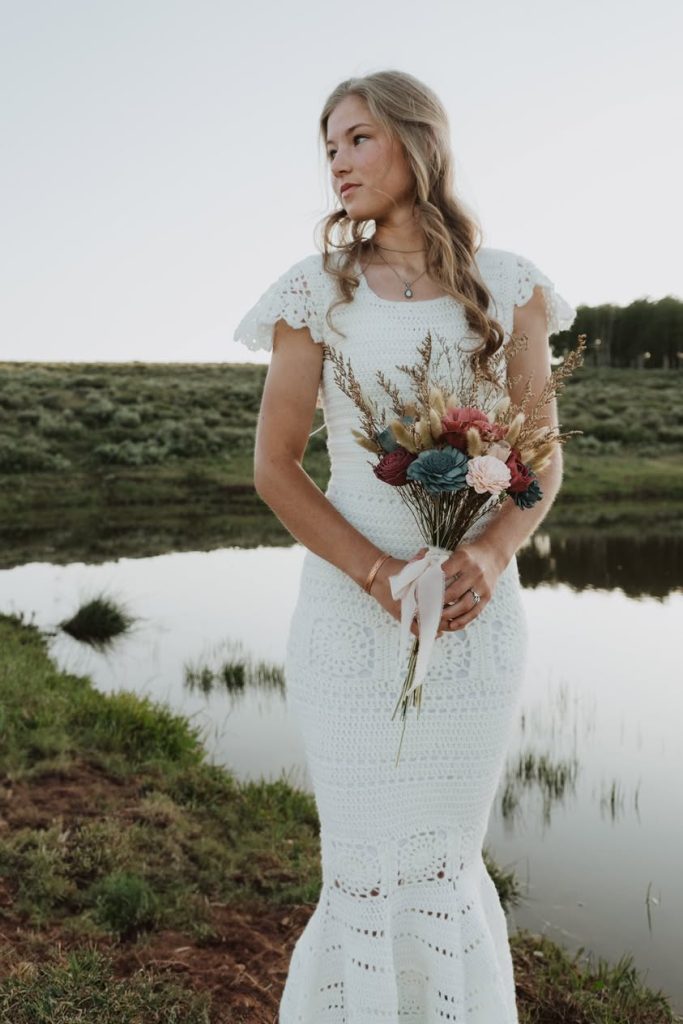
Bridal Elegance in Crochet: A Handcrafted Wedding Dress That Captures the Heart
There are moments in life that deserve to be wrapped in beauty, love, and craftsmanship—and few occasions are more symbolic of this than a wedding. This stunning crochet wedding dress is more than just a garment; it’s a labor of love, a celebration of handmade artistry, and a symbol of timeless femininity. With every stitch telling a story, this dress transforms a bride into a vision of grace, nature, and romantic elegance.
The piece features intricate square motifs delicately joined together to form a form-fitting silhouette that flatters the figure while preserving a soft, vintage aesthetic. The bodice is designed with a simple yet elegant texture, while flutter sleeves and the flared hem add a touch of whimsy and softness. The cotton yarn gives the dress a natural drape, perfect for outdoor weddings, rustic ceremonies, or boho-chic brides looking for something truly meaningful.
Creating your own crochet wedding dress is a journey—one filled with patience, emotion, and pride. And whether you’re making it for yourself, a loved one, or as a bespoke piece for a client, this pattern invites you to infuse every row with purpose.
Materials Needed:
- Fingering or sport-weight cotton yarn in white or off-white (approx. 800–1200g depending on size)
- Crochet hook size 2.5mm–3.5mm (US B–E)
- Tapestry needle
- Stitch markers
- Invisible zipper (for back closure, optional)
- Light cotton fabric for lining (optional for extra coverage)
Skill Level: Intermediate to advanced
Main Techniques Used:
- Granny square construction
- Joining motifs as-you-go
- Double crochet, treble crochet
- Shaping using increases/decreases
- Blocking for structure
Step-by-Step Instructions:
1. Bodice Construction:
- Begin with a foundation chain that fits around the bust area. Work in rounds using a textured stitch (e.g., double crochet or extended dc).
- Shape the neckline and armholes with gradual decreases. Use stitch markers to keep track of the bust and shoulder shaping.
- Work short sleeves separately using a shell or lace pattern for a delicate look, then attach.
2. Creating the Granny Squares:
- Make square motifs measuring approx. 10x10cm.
- Use a classic flower-in-the-center or simple geometric lace square for elegance.
- Block each square to even sizing.
- Join squares using a whip stitch or join-as-you-go method to form the skirt section.
3. Shaping the Skirt:
- Once the hip circumference is reached, increase the flare by spacing the motifs wider apart in each row.
- For a mermaid shape, work tighter joins near the knees and flare out gradually toward the hem with added rows or half-squares.
4. Finishing Touches:
- Add a zipper or lace-up back if desired.
- Weave in all ends and block the entire piece gently.
- If desired, line the bodice and skirt with light cotton to prevent transparency.
Styling Tips:
- Pair with a bouquet of dried wildflowers for a rustic aesthetic.
- Add a crocheted or lace veil for a complete bridal look.
- Consider natural, undone hairstyles and soft makeup to complement the handmade charm.
Final Thoughts:
A handmade wedding dress is not just a fashion choice—it’s a heartfelt statement. This crochet bridal gown speaks of tradition, devotion, and timeless beauty. By creating or wearing such a piece, you celebrate not only love but also the rich heritage of craftsmanship that connects generations of makers. In a world of fast fashion, a dress like this stands still—gracefully, lovingly, and forever.