Crochet Pumpkins
Autumn is one of the most inspiring seasons for handmade decorations, and crochet pumpkins are a perfect project to bring the cozy vibes of fall into your home. Unlike real pumpkins, these charming creations last year after year, adding warmth to your seasonal décor. They are ideal for centerpieces, mantels, or even as thoughtful handmade gifts for family and friends.
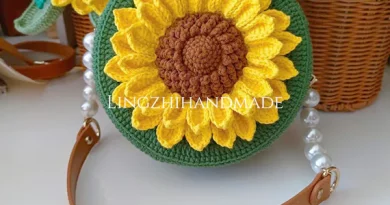
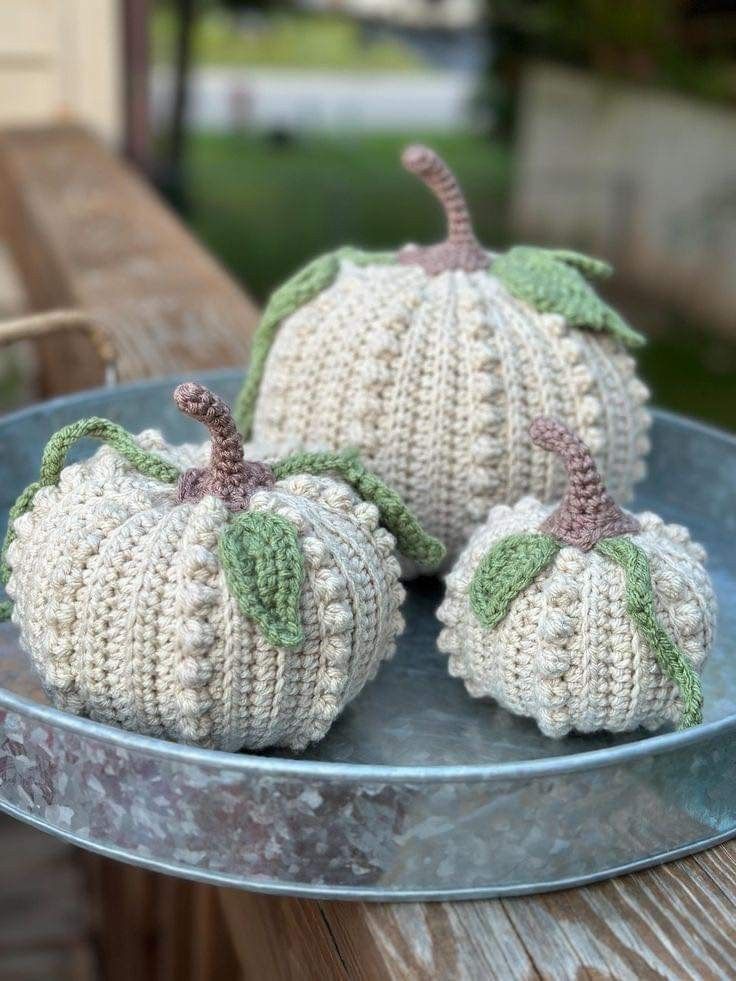
One of the best things about crochet pumpkins is their versatility. You can customize them in any size, color, or texture depending on your personal style. Neutral tones bring a modern farmhouse look, while bright oranges and yellows highlight traditional autumn colors. Adding details such as ribbed textures, bobble stitches, and green leaves makes each pumpkin unique and full of personality.
This project is also very beginner-friendly. With just basic stitches like single crochet, increases, and decreases, you can shape the body of the pumpkin. The stem and leaves require only simple techniques, yet they complete the design beautifully. For crafters who want to practice shaping and textured stitches, crochet pumpkins are a fun and rewarding project.
Whether you’re making a set to decorate your dining table or a single large pumpkin for a statement piece, this project is quick, creative, and relaxing. Let’s walk through the step-by-step instructions to create your own crochet pumpkins and bring a handmade touch to your fall décor.
Step-by-Step Instructions
Materials Needed:
- Worsted weight yarn in beige, brown, and green
- Crochet hook (size suitable for your yarn, usually 4.0mm–5.0mm)
- Fiberfill stuffing
- Yarn needle and scissors
Step 1: Pumpkin Body
- Start with a magic ring and crochet in the round, increasing evenly to form a flat circle.
- Once the circle reaches the desired width, continue crocheting in the round without increases to build height.
- Add texture with bobble stitches or front-post stitches to create ribbing.
Step 2: Shaping the Pumpkin
- When the height is reached, begin decreasing rounds to close the top.
- Before fully closing, stuff the pumpkin firmly with fiberfill.
- Use a yarn needle to weave the yarn through the top and pull tight to close securely.
Step 3: Stem
- With brown yarn, crochet a small tube by working single crochet in the round.
- Attach it securely to the top center of the pumpkin.
Step 4: Leaves and Assembly
- With green yarn, crochet small leaves (chain base, single crochet up one side and back down the other).
- Sew the leaves around the stem.
- Optionally, create a curly vine by chaining and working multiple single crochets into each chain stitch.
✨ Now you have your own handmade crochet pumpkins, perfect for fall decorations. Make them in different sizes for a beautiful set, or experiment with colors for a unique touch.