Crochet-Lined Transparent Umbrella – Step-by-Step Tutorial
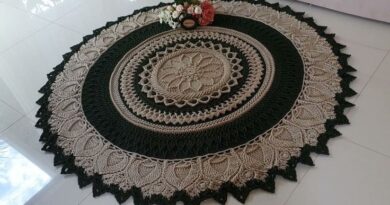
There’s something magical about combining the delicate artistry of crochet with the modern elegance of a transparent umbrella. This unique fusion turns a simple accessory into a statement piece, perfect for sunny strolls, rainy afternoons, or even as a charming prop for photo sessions. With the right colors and pattern, it can be customized to suit any season or mood.
The beauty of this project lies not only in its visual appeal but also in its versatility. A crochet lining adds texture, color, and personality to an otherwise plain umbrella, while the transparent material allows the intricate stitches to shine through beautifully. Whether you prefer bold hues that pop against the clear vinyl or soft neutrals for a romantic, vintage vibe, the possibilities are endless.
This handmade touch transforms your umbrella into more than just protection from the rain—it becomes a wearable work of art. Imagine walking down the street, the sunlight streaming through the lace-like stitches, casting intricate shadows around you. It’s a perfect way to showcase your crochet skills in a functional and stylish way.
In this tutorial, we will walk you step-by-step through creating your own crochet-lined transparent umbrella. Even if you are new to larger crochet projects, this guide will break everything down into manageable stages, from selecting the right pattern and materials to attaching your finished piece securely. By the end, you’ll have a unique, handmade accessory that turns heads wherever you go.
Materials Needed
- 1 transparent umbrella (clear vinyl or PVC)
- Cotton crochet thread or fine yarn (size and color of your choice – yellow was used in the example)
- Crochet hook suitable for the thread/yarn (commonly 1.5 mm–2.5 mm for fine thread)
- Scissors
- Tapestry needle
- Measuring tape
- Stitch markers
- Optional: waterproof fabric glue (to secure points inside the umbrella)
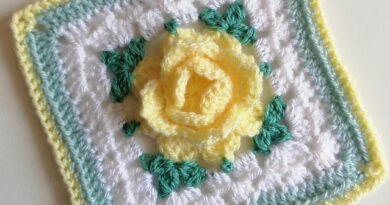
Step 1 – Choosing or Creating the Crochet Design
- Decide on your crochet pattern – lace or doily designs work best because they are lightweight and decorative.
- You can either:
- Follow a circular lace/doily pattern that expands outward (like a mandala or pineapple lace), or
- Design your own, ensuring it has a radial symmetry that matches the umbrella’s ribs.
- The diameter of your finished crochet piece should match the fully open umbrella’s interior.
Step 2 – Crocheting the Canopy
- Start with a magic ring and crochet the central motif.
- Increase each round according to your pattern, keeping your stitches open and airy (chains, double crochets, treble crochets).
- Use lace stitch patterns like shell stitches, pineapples, or fan stitches to create a delicate look.
- Periodically measure your crochet piece against the umbrella’s open frame to ensure it matches the size and shape.
- When the crochet circle is nearly the umbrella’s size, make a final round of picots, scallops, or pointed edges to give a finished look.
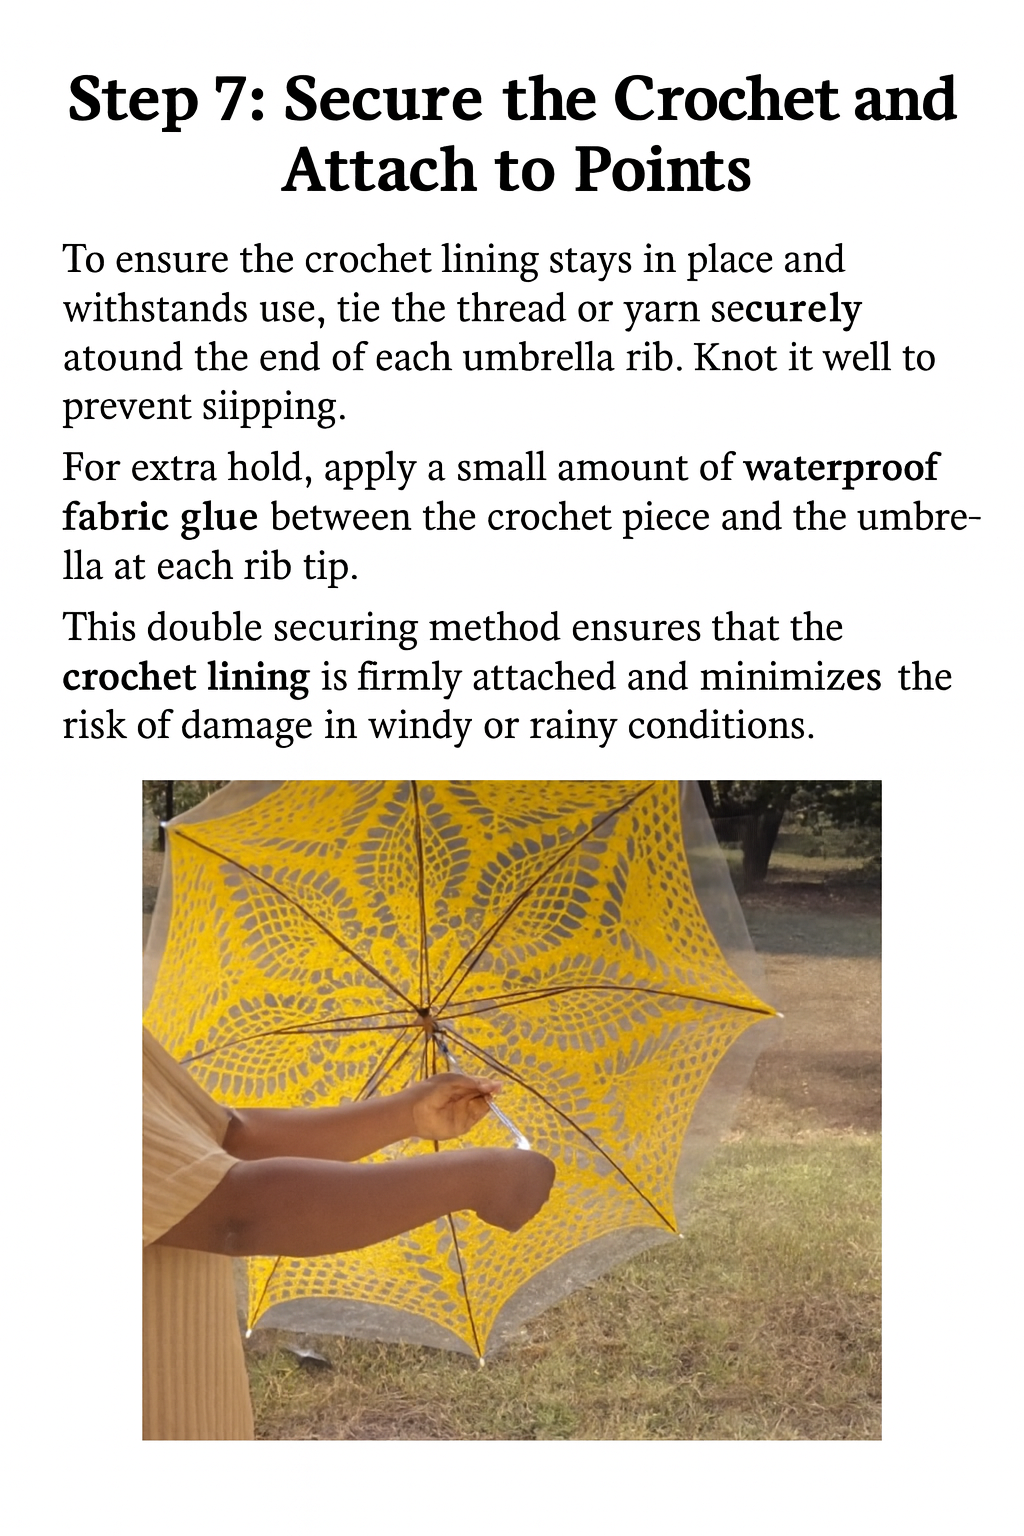
Step 3 – Attaching the Crochet to the Umbrella
- Open the umbrella and lay it upside down on a large surface.
- Place the crochet piece inside the umbrella, aligning its center with the umbrella’s top tip.
- Use stitch markers or clips to secure the crochet at each rib point.
- With a tapestry needle and matching thread, sew the crochet piece directly onto the umbrella ribs or along the seam lines.
- Keep the stitches neat and tight so the crochet won’t sag when the umbrella is open.
Step 4 – Finishing Touches
- Check that the crochet is evenly stretched and securely attached.
- If needed, apply small dots of fabric glue where the crochet meets the umbrella’s ribs for extra stability.
- Trim any excess thread and weave in the ends neatly.
- Open and close the umbrella several times to ensure the crochet moves smoothly and doesn’t snag.
Tips for Success
- Use cotton yarn for durability and to prevent stretching when wet.
- Avoid heavy yarns; they may weigh down the umbrella and cause it to collapse.
- If you want the umbrella purely decorative, you can go with more delicate stitches. For functional rain use, choose a tighter pattern so raindrops roll off better.