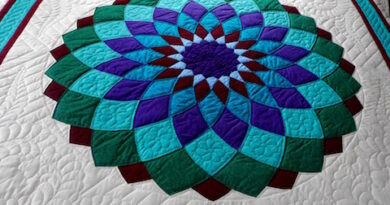
🧵 Whimsical Bunny Quilt
The Whimsical Bunny Quilt pattern is a charming choice for anyone looking to create a delicate quilt with a playful and unique touch. Perfect for children’s rooms or as a personalized gift, this project combines simple blocks with whimsical bunny appliqués.
The step-by-step instructions include fabric cutting guides, block assembly directions, and how to apply the bunnies using either hand or machine appliqué techniques. With a blend of soft tones and cheerful prints, this quilt is ideal for both beginners and experienced quilters.
By following the complete guide, you’ll learn how to arrange the blocks in a harmonious layout, sew them with precision, and finish the piece with a neat border and light quilting that highlights the bunny details. The pattern also allows creative variations such as adding flowers, carrots, or personalized
🪡 Skill level: Intermediate
📐 Block size: Approx. 12″x18″ per bunny
🧶 Technique: Appliqué + Quilting + Piecing
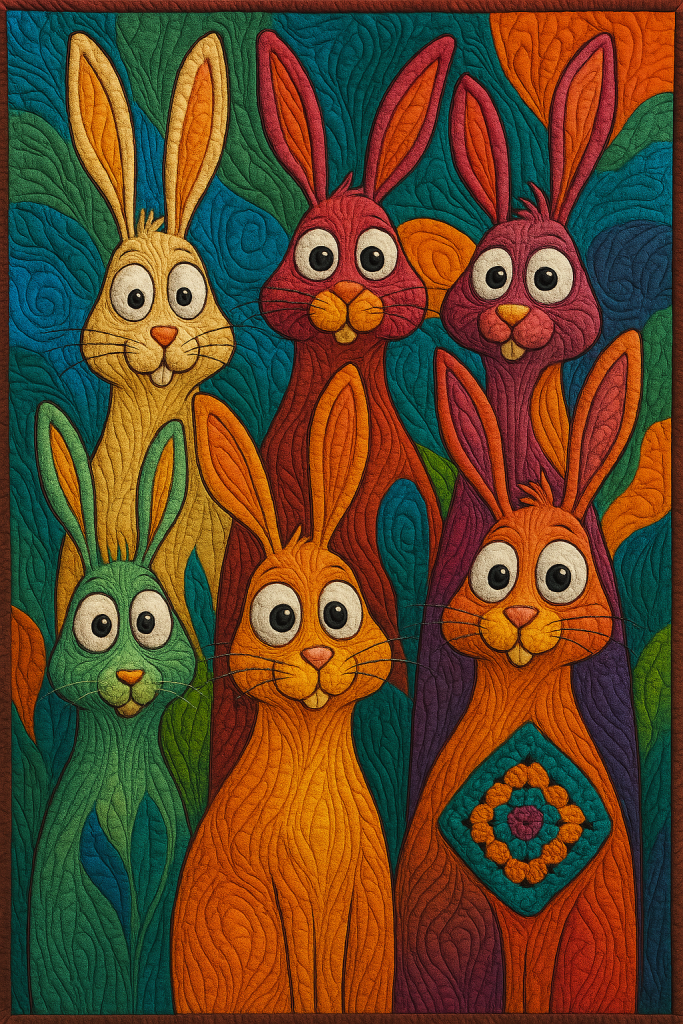
🎨 Theme: Cartoon-style bunnies with bold colors and expressive faces
✂️ Materials Needed:
- Colorful cotton fabric scraps (solids & prints)
- Fusible web (like Heat’n Bond or Steam-A-Seam)
- Background fabric (e.g., teal, blue, green)
- Batting & backing
- Fabric markers or embroidery floss (for details)
- Sewing machine
- Thread in coordinating colors
- Iron, scissors, pins
📌 Step 1: Prepare the Bunny Templates
- Sketch or print out 6–7 fun, cartoon-style bunny shapes (or trace from the quilt image).
- Include different ear shapes, eye sizes, and goofy expressions.
- Trace each bunny piece (head, ears, eyes, nose, body) onto fusible web.
✨ Step 2: Choose and Cut Fabrics
- Select colorful fabrics for each bunny — aim for contrast between body and background.
- Iron the fusible web to the back of each chosen fabric piece.
- Cut out the bunny shapes carefully with small scissors.
🖼 Step 3: Assemble the Bunnies
- Position each bunny on your background blocks (12″x18″).
- Iron them in place to fuse.
- Stitch around each piece using zigzag, blanket stitch, or free-motion embroidery.
🧵 Step 4: Add Details
- Sew or draw pupils, mouths, and whiskers.
- For added texture, hand-embroider expressions and outlines using black thread or floss.
- Optional: Use a crochet appliqué (like a granny square) on one bunny’s belly!
🧩 Step 5: Arrange the Quilt Top
- Lay out all your bunny blocks in a grid (e.g., 3 rows x 3 columns).
- Add sashing or colorful border strips if desired.
- Sew the blocks together to complete the quilt top.
🪡 Step 6: Quilt & Bind
- Layer your quilt top with batting and backing.
- Quilt around each bunny, enhancing the outlines and background swirls.
- Trim edges, attach binding using your preferred method.
🧺 Step 7: Finishing Touches
- Add a label to the back of your quilt.
- Wash gently and dry flat.
🧵 Whimsical Bunny Quilt – Step-by-Step Tutorial
🪡 Skill level: Intermediate
📐 Block size: Approx. 12″x18″ per bunny
🧶 Technique: Appliqué + Quilting + Piecing
🎨 Theme: Cartoon-style bunnies with bold colors and expressive faces
✂️ Materials Needed:
Colorful cotton fabric scraps (solids & prints)
Fusible web (like Heat’n Bond or Steam-A-Seam)
Background fabric (e.g., teal, blue, green)
Batting & backing
Fabric markers or embroidery floss (for details)
Sewing machine
Thread in coordinating colors
Iron, scissors, pins
📌 Step 1: Prepare the Bunny Templates
Sketch or print out 6–7 fun, cartoon-style bunny shapes (or trace from the quilt image).
Include different ear shapes, eye sizes, and goofy expressions.
Trace each bunny piece (head, ears, eyes, nose, body) onto fusible web.
✨ Step 2: Choose and Cut Fabrics
Select colorful fabrics for each bunny — aim for contrast between body and background.
Iron the fusible web to the back of each chosen fabric piece.
Cut out the bunny shapes carefully with small scissors.
🖼 Step 3: Assemble the Bunnies
Position each bunny on your background blocks (12″x18″).
Iron them in place to fuse.
Stitch around each piece using zigzag, blanket stitch, or free-motion embroidery.
🧵 Step 4: Add Details
Sew or draw pupils, mouths, and whiskers.
For added texture, hand-embroider expressions and outlines using black thread or floss.
Optional: Use a crochet appliqué (like a granny square) on one bunny’s belly!
🧩 Step 5: Arrange the Quilt Top
Lay out all your bunny blocks in a grid (e.g., 3 rows x 3 columns).
Add sashing or colorful border strips if desired.
Sew the blocks together to complete the quilt top.
🪡 Step 6: Quilt & Bind
Layer your quilt top with batting and backing.
Quilt around each bunny, enhancing the outlines and background swirls.
Trim edges, attach binding using your preferred method.
🧺 Step 7: Finishing Touches
Add a label to the back of your quilt.
Wash gently and dry flat.