Patriotic Pinwheel Quilt Block – A Celebration in Red, White, and Blue
Introduction:
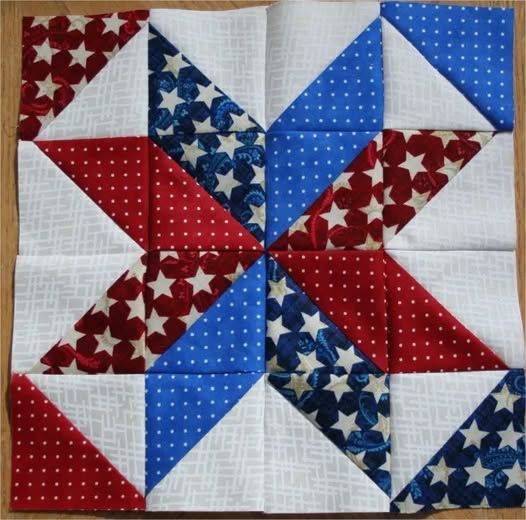
Quilting has always been a powerful form of artistic expression and cultural identity. Few themes are as classic — and emotionally meaningful — as patriotic projects in the United States. The block you see here is a vibrant combination of red, white, and blue, featuring star and polka dot prints, forming a beautiful pinwheel design that symbolizes movement and celebration.
This kind of block is perfect for commemorative dates like the 4th of July, Memorial Day, or to honor veterans and military families. With a dynamic and bold look, this project brings the spirit of freedom and national pride into our homes through comfort and art.
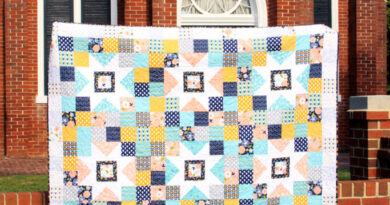
Besides being visually striking, this block works well for larger quilts and smaller projects such as pillows, table runners, or decorative wall hangings. The contrast of vibrant tones and themed prints creates a timeless charm that appeals across generations.
In this article, we’ll walk you through the full step-by-step to create this patriotic pinwheel quilt block. With clear instructions and helpful tips, you’ll feel confident sewing a tribute full of heart.
Materials Needed:
- Red fabric with star print
- Blue fabric with floral or polka dot print
- Neutral white fabric (textured or solid)
- Rotary cutter and cutting mat
- Quilting ruler
- Sewing machine
- Iron
- Matching thread
Step-by-Step Instructions:
1. Cutting the Triangles:
- Cut 4 ½” x 4 ½” squares from the red, blue, and white fabrics.
- Pair the red and white squares together and sew diagonally to make half-square triangles (HSTs). Repeat with the blue and white squares.
2. Assemble the Small Units:
- Join the red/white and blue/white triangles to form small blocks with a “V” pattern, as seen in the image.
- Press seams to the darker side and trim if needed.
3. Block Layout:
- Lay out the small blocks in a pinwheel formation.
- Alternate the red and blue sections to create a dynamic spinning effect.
4. Final Sewing:
- Sew the blocks into rows of four.
- Join the rows and press the seams flat.
- The finished block will measure approximately 12” x 12”.
Extra Tip:
If you’d like to expand this block into a full quilt, repeat the layout using fabric variations within the same color scheme. You can also alternate blocks with solid whites or embroidered stars to add more visual depth.