Crochet Turtle Amigurumi – Step-by-Step Pattern
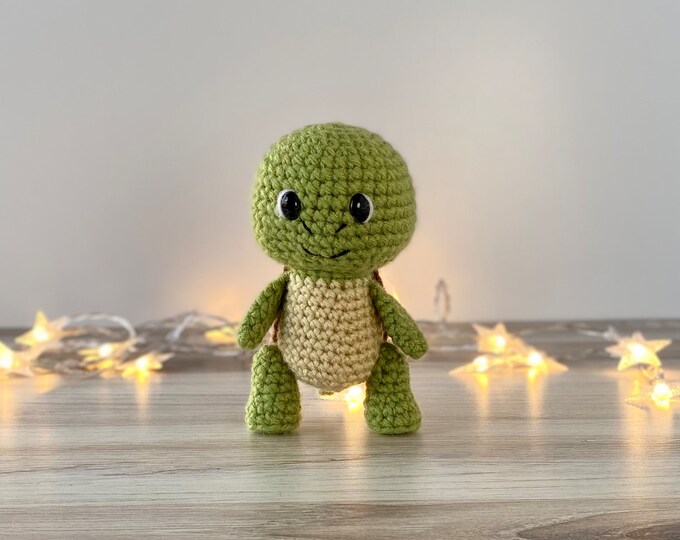
Introduction: Among the most beloved and trending crochet projects in the United States right now is the adorable turtle amigurumi. With its round body, sweet little legs, and colorful shell, this handmade piece captures hearts across all ages. Whether you’re crocheting for kids, making nursery decor, or preparing gifts for craft fairs, this tiny turtle is a must-have in your project list.
Amigurumi continues to grow in popularity not only because it’s cute, but because it allows crafters to create charming characters that are full of personality. This turtle design, in particular, is easy enough for confident beginners and fun enough to delight seasoned crocheters. It combines simple shapes with fun color changes and a satisfying final result.
The pattern includes the basic amigurumi techniques—magic ring, single crochet, increases and decreases—along with a few helpful tips to assemble the turtle neatly. With some yarn and a bit of time, you’ll bring this little creature to life stitch by stitch.
Let’s dive into this cozy, creative project and crochet your own turtle amigurumi!
Materials Needed:
- DK or worsted weight cotton yarn (green, beige, brown, or any color of choice for the shell)
- 2.25mm or 2.5mm crochet hook
- Safety eyes (6mm or 8mm) or black embroidery thread
- Polyester fiberfill stuffing
- Stitch markers
- Yarn needle
- Scissors
Pattern Instructions:
1. Turtle Head and Body (worked in one piece)
- Start with green yarn.
- R1: Magic ring with 6 sc
- R2: 2 sc in each stitch around (12)
- R3: (1 sc, inc) x6 (18)
- R4–7: sc around (18)
- Insert safety eyes between rows 5 and 6
- R8: (1 sc, dec) x6 (12)
- R9: dec around (6)
- Stuff the head and body lightly.
- Fasten off, leaving a tail for sewing.
2. Turtle Legs (make 4)
- R1: Magic ring with 6 sc
- R2: (1 sc, inc) x3 (9)
- R3–4: sc around (9)
- Fasten off, leave a tail for sewing. Lightly stuff.
3. Turtle Shell (Top Part)
- Use brown or multicolor yarn.
- R1: Magic ring with 6 sc
- R2: 2 sc in each stitch (12)
- R3: (1 sc, inc) x6 (18)
- R4: (2 sc, inc) x6 (24)
- R5: (3 sc, inc) x6 (30)
- R6: (4 sc, inc) x6 (36)
- Fasten off, leave a tail.
4. Shell Underside (Flat Circle)
- Repeat shell top pattern in beige or light color, stop at R5 (30 stitches)
Assembly:
- Sew the legs to the sides of the body.
- Attach the shell top to the shell bottom by sewing around the edges, lightly stuffing the shell.
- Sew the finished shell to the turtle’s back.
- Optionally, embroider small lines or details on the shell for extra texture.
Your turtle amigurumi is now complete! This project is perfect for gifts, decorations, or even themed collections. Enjoy each stitch and don’t forget to make a few more turtles in different colors!