Crochet Toilet Paper Dolls – Functional Décor with Whimsy
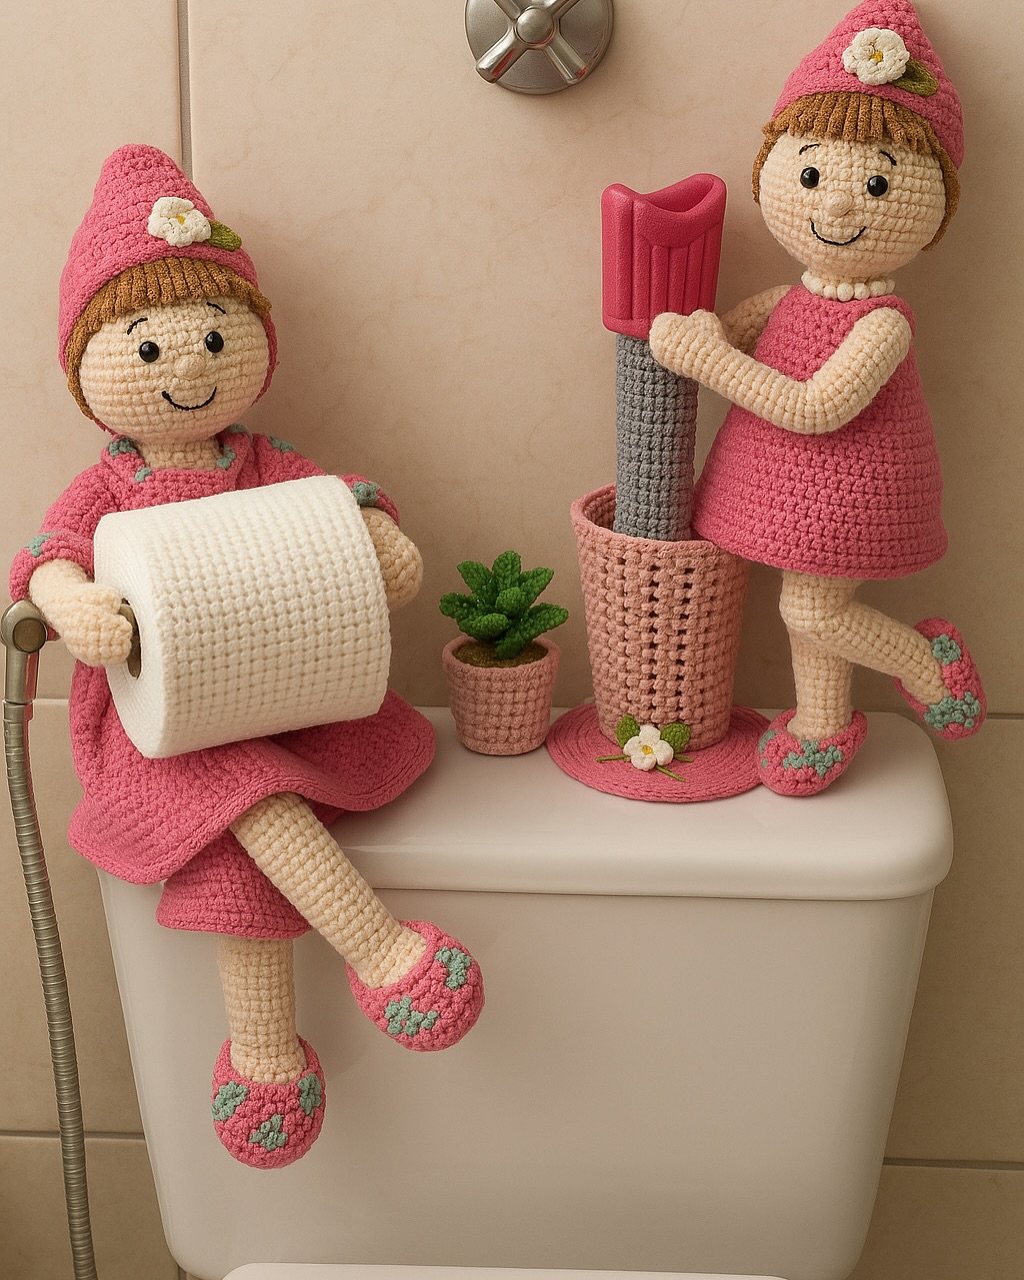
Who said bathrooms can’t have a touch of personality and warmth? These crochet toilet paper dolls bring playful charm and color to any bathroom space. Not only are they eye-catching and adorable, but they also serve a practical purpose—storing and displaying toilet paper in a delightful way.
These amigurumi dolls, typically dressed in bright, cheerful colors, sit gracefully on a toilet tank while holding or hugging rolls of toilet paper. Their structured legs and arms, pretty dresses, and matching slippers make them look like stylish little guests, giving bathrooms a handmade, homey feel.
This kind of project is a favorite among intermediate crocheters because it combines basic amigurumi structure with costume creativity and utility. You can customize the dolls’ hair, clothing, and even add details like tiny bows, beads, or names to personalize them further.
Ready to turn your bathroom into a more joyful and cozy corner of your home? Below is a step-by-step guide to making your own crochet toilet paper lady from scratch.
🧵 Materials Needed:
- 2.5 mm and 3.0 mm crochet hooks
- DK weight cotton yarn in skin tone, red, green, white, and black
- Polyester fiberfill for stuffing
- Yarn needle
- Stitch markers
- 2 black safety eyes (6mm) or black yarn for embroidery
- Small buttons or embellishments (optional)
🪡 Step-by-Step Instructions:
1. Head and Body (Work in skin tone):
- Magic ring, 6 sc
- Inc around (12), then continue increasing each round by 6 until you reach 48 sts.
- Work even for 15 rounds.
- Begin decreasing evenly by 6 each round until 12 sts remain.
- Stuff firmly and fasten off.
2. Arms and Legs (Make 2 of each):
- Arms: Start with magic ring, increase to 12 sts, work even for 20 rows, stuff lightly.
- Legs: Same start, increase to 18 sts, work even for 25–30 rows, stuffing as you go.
- Shape knees by slightly decreasing and increasing at specific rows.
3. Dress and Hat (In red yarn):
- Begin at neckline with a chain and work in rounds.
- Increase gradually to create skirt flare. Add texture with shell stitch if desired.
- Hat: Start as a circle, then reduce rounds to shape like a cap. Add small green bows or cherries as embellishment.
4. Assembly:
- Sew arms and legs onto the body.
- Sew head to body securely.
- Place dress and hat onto the doll and stitch in place if needed.
- Embroider the mouth and blush cheeks with pink yarn or blush.
5. Toilet Paper Basket Holder (Optional):
- Start with a magic ring and increase in rounds to the diameter of a TP roll.
- Work even up the sides for about 10–12 cm.
- Finish with a decorative edge. Create a base and join with slip stitch.
These dolls are great gifts, conversation starters, and perfect for market stalls. Want to include a matching towel topper or wall hanging? Just say the word and I can help design a full set for your bathroom decor!