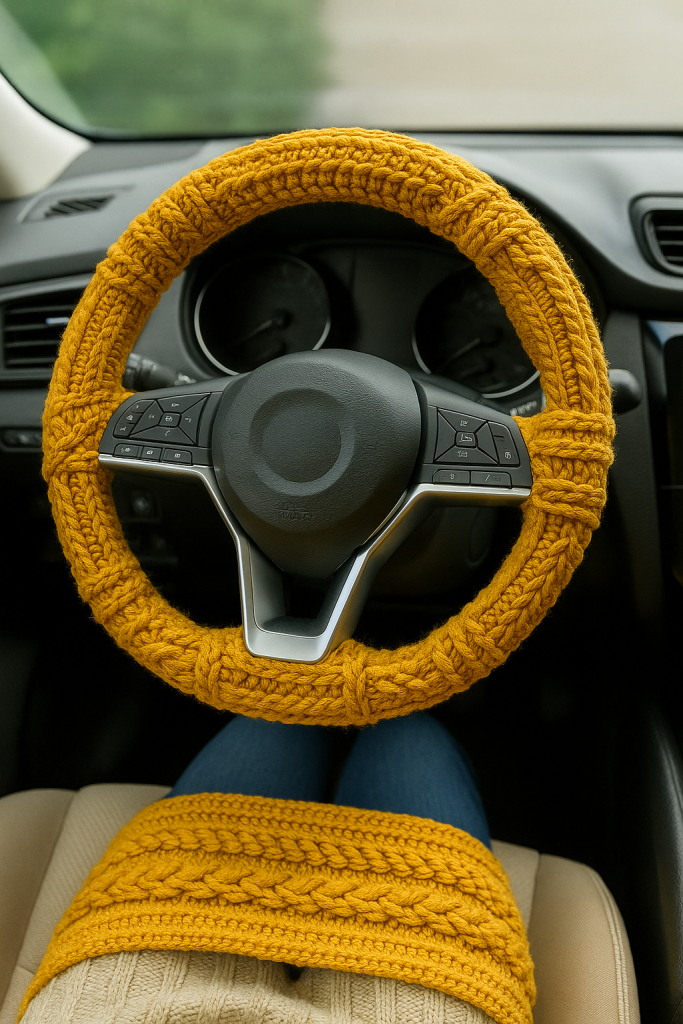
🧶 Crochet Car Cover Art – When Craft Meets Creativity
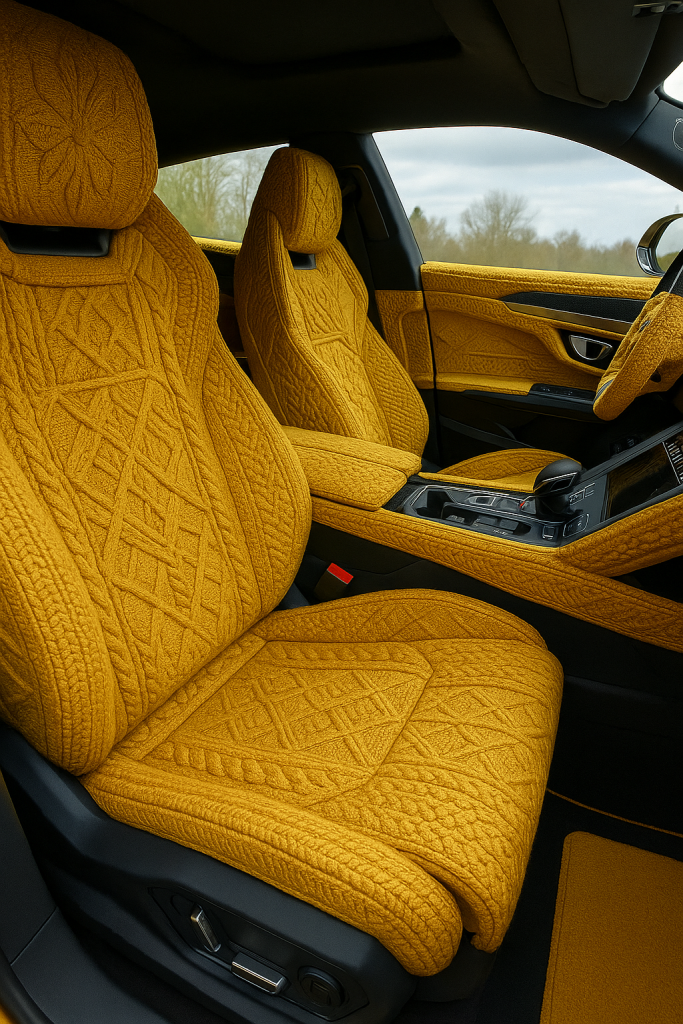
Have you ever imagined mixing your passion for crochet with something as bold as a luxury car? That’s exactly what this jaw-dropping project represents: an unforgettable fusion of fiber art and automotive design. From the steering wheel to the dashboard, and all the way across the hood, this fully crocheted car cover is a masterpiece of texture, dedication, and imagination.
This kind of work goes beyond traditional crochet. It’s a celebration of artistry, patience, and storytelling through yarn. Whether made as a showpiece, installation art, or just to have fun, a crocheted car interior and exterior evokes a sense of wonder. And while it may seem like a distant dream, with some yarn, planning, and determination—you can bring it to life piece by piece.
Crochet vehicle covers have been spotted at yarn bomb festivals, art exhibitions, and viral social media posts, but behind every stitch is someone who dared to push boundaries. If you’re someone who loves bold ideas and wants to bring warmth and softness to unexpected places, this guide is for you.
In this article, we’ll walk you through how to create modular crochet pieces that can be assembled to fit over car interiors or exteriors—focusing on style, durability, and a dose of creative rebellion.
🎓 Skill Level: Intermediate to Advanced
You’ll need basic pattern-making skills and comfort working with texture and custom shaping.
🧰 Materials
- Durable acrylic or blended yarn (medium to bulky weight)
- Crochet hooks (sizes 5.0mm to 7.0mm)
- Scissors and stitch markers
- Yarn needle
- Measuring tape
- Non-slip fabric or cotton lining (optional for seat areas)
- Velcro straps or buttons for attachment
📏 Step-by-Step Instructions
1. Measure Your Car
- Use a flexible tape measure to get the dimensions of seats, dashboard, steering wheel, and hood.
- Note down width, height, curves, and unusual shapes.
2. Choose Your Stitch Patterns
- Use tightly woven stitches like single crochet, half double crochet, or moss stitch for strength.
- Add flair with cables, bobbles, popcorn, and basketweave texture.
- For exterior panels, consider weather-resistant yarns and denser stitching.
3. Make Modular Panels
- Crochet in pieces: squares, rectangles, and shaped blocks.
- Join them using whip stitch, mattress stitch, or decorative seams.
- Create motifs or mandalas for focal points like the steering wheel or headrest.
4. Fit and Assemble
- Fit your pieces over the car parts, pinning or basting in place first.
- Add buttons, Velcro, or ties to fasten securely.
- For permanent installations, lightly baste with fabric glue (avoid damaging surfaces).
5. Finish and Flaunt
- Add a soft lining to prevent slippage.
- Block pieces where needed to stretch or shape.
- Take photos and share with your crochet community!
💡 Bonus Tips
- Create themes (e.g. floral garden, honeycomb, retro 70s).
- Mix crochet with embroidery or patchwork.
- Use reflective yarn or LED-embedded threads for visual impact.
🚗 Yarn Meets Horsepower
The crocheted car cover isn’t just a trend—it’s a movement of imagination, proof that handmade work belongs in every space, even on four wheels. So grab your hooks and start sketching your dream ride in yarn. With every stitch, you’ll be making more than just a cover—you’ll be making a statement.
Coming Soon: Downloadable templates for headrest and seat cover patterns!