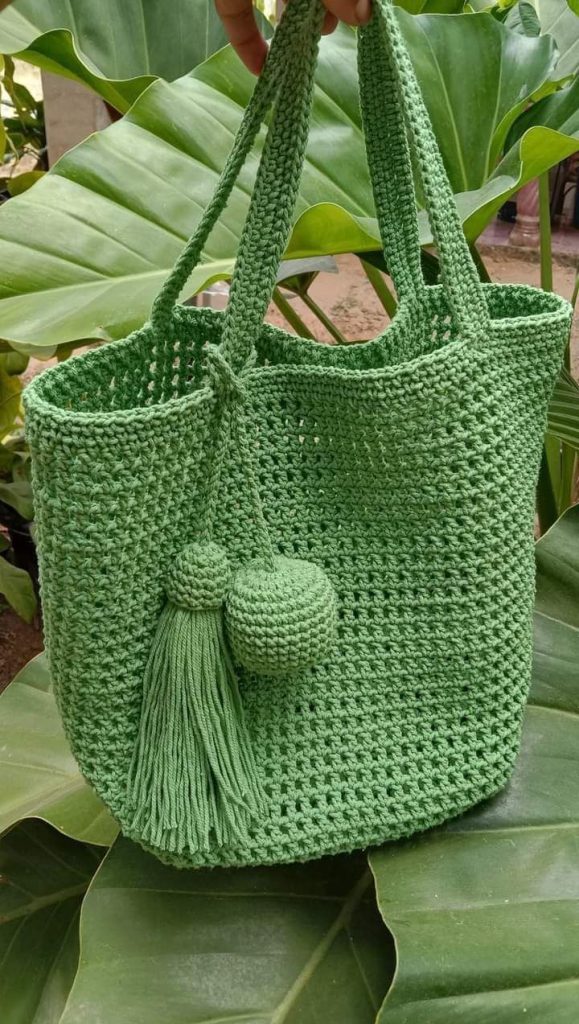
Stylish Crochet Tote Bag – A Modern Handmade Accessory
Crochet has a timeless charm that blends artistry, creativity, and practicality. This stunning handmade tote bag is the perfect example of how crochet can be both fashionable and functional. Whether you’re heading to the beach, going shopping, or simply enjoying a casual day out, a well-crafted crochet bag adds a personal touch to your style that no store-bought accessory can replicate.
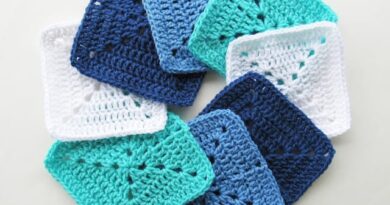
This bag is made using a durable and flexible crochet stitch that not only gives it strength but also creates a beautiful texture. The intricate weave allows the bag to maintain its shape while still being soft to the touch. The addition of playful tassels and a crochet ball ornament adds a trendy detail, making it a standout piece for any outfit.
One of the biggest advantages of this crochet tote is its versatility. You can make it in classic, neutral tones for a sophisticated look, or in vibrant colors to make a bold statement. The pattern works well with various yarn types, allowing you to adapt it for summer cotton versions or warmer winter blends. Plus, it’s an eco-friendly alternative to plastic or synthetic bags, as it’s reusable and long-lasting.
If you enjoy creating your own fashion accessories, this crochet tote bag is an excellent project. It’s beginner-friendly yet stylish enough for experienced crocheters to customize. Follow the step-by-step instructions below to make your very own bag and add a handmade treasure to your wardrobe.
Materials Needed:
- Cotton crochet yarn (color of your choice, approx. 400–500g)
- Crochet hook (size recommended for your yarn, usually 3.5 mm to 4 mm)
- Scissors
- Yarn needle
- Stitch markers (optional)
- Cardboard for tassel making
Step-by-Step Instructions:
Step 1 – Base of the Bag
- Begin with a foundation chain of 45 chains (adjust for your desired bag width).
- Work single crochets (SC) across the chain. At the end, add 3 extra SC into the last chain to curve around.
- Continue working SC on the opposite side of the chain, again adding 3 SC in the last chain to form an oval shape.
- Repeat for 5–6 rounds to create a sturdy oval base.
Step 2 – Body of the Bag
- Switch to a mesh stitch for the body: 1 double crochet (DC), chain 1, skip 1 stitch, repeat.
- Work in continuous rounds without joining, marking the first stitch with a stitch marker if needed.
- Continue until the bag reaches your preferred height (about 30–35 cm).
Step 3 – Handles
- From the side of the bag, count 10 stitches and attach yarn for the first handle.
- Chain 60–65 (depending on your handle length preference).
- Skip 10 stitches and join with a slip stitch to form the handle loop.
- Repeat on the opposite side for the second handle.
- Reinforce the handles by working single crochet stitches along each chain loop.
Step 4 – Decorative Tassels and Ball
- For the tassel: Wrap yarn around cardboard 40–50 times, tie at the top, cut the bottom, and wrap the top section for a neat finish.
- For the crochet ball: Make 6 SC in a magic ring, increase evenly to about 24 stitches, then decrease until closed, stuffing lightly before sealing.
- Attach the tassel and ball to the front handle for a stylish finish.
Step 5 – Finishing Touches
- Weave in all loose ends with a yarn needle.
- Shape the bag gently and block if necessary to give it a polished look.
Tip: This bag looks beautiful in solid colors, but you can also create color block effects by switching yarn colors mid-way. A red-and-black combination or pastel tones can give it a completely different vibe.