Floral Appliqué and Patchwork Quilt – Step by Step
Quilts are more than just blankets; they are pieces of art that tell a story with every stitch. This particular quilt beautifully combines traditional patchwork blocks with appliqué floral motifs, creating a design that feels both classic and lively. The balance of geometric precision and free-form appliqué makes it a perfect project for quilters who love variety and creativity.
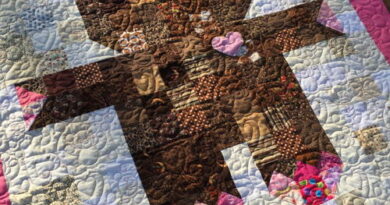
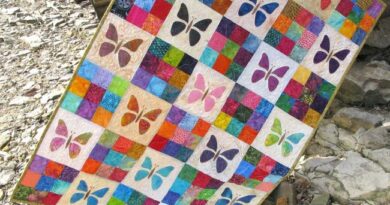
The background of red fabric adds a bold and striking effect, making the white patchwork blocks stand out while giving a vibrant canvas for the colorful flowers. Each flowerpot and bloom is carefully appliquéd, adding texture and dimension to the quilt top. The playful birds add even more charm, giving the quilt a whimsical, garden-inspired look.
This quilt is ideal for intermediate quilters who are comfortable with both piecing and appliqué techniques. It provides the opportunity to practice precision with patchwork blocks while also exploring artistic expression through fabric placement and decorative stitching for the appliqué. The combination of techniques ensures that each stage of the project is engaging and rewarding.
Best of all, this type of quilt is highly customizable. You can swap out the block patterns, choose different background colors, or design your own floral appliqués to make the quilt uniquely yours. Whether displayed as wall art, gifted to a loved one, or used as a bed quilt, it is a statement piece that showcases both technical skill and artistic vision.
Materials
- Red fabric for background
- White and red prints for patchwork blocks
- Assorted scraps for flowers, leaves, birds, and vases
- Fusible web (for appliqué)
- Rotary cutter, ruler, mat, and iron
- Sewing machine and quilting thread
Step-by-Step Instructions
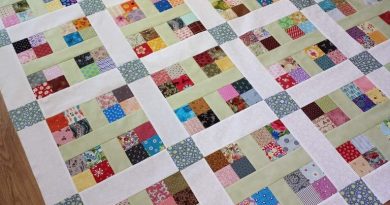
Step 1 – Pieced Blocks
- Choose traditional patchwork blocks such as Pinwheels, Ohio Stars, or Churn Dash.
- Use red and white fabrics to create contrast.
- Piece the blocks using ¼″ seam allowance, pressing seams open or to the side.
- Arrange blocks in a staircase or random layout, leaving open spaces for appliqué.
Step 2 – Preparing Appliqué
- Draw or trace floral designs, leaves, and bird shapes onto fusible web.
- Press onto the back of chosen fabrics, then cut out carefully.
- Arrange appliqué pieces onto the quilt top, creating flowerpots, stems, and birds.
- Fuse in place with a hot iron.
Step 3 – Stitching Appliqué
- Secure appliqué pieces with decorative stitches such as blanket stitch, zigzag, or satin stitch.
- Use matching or contrasting thread for extra detail.
- Add hand embroidery for flower centers or bird details if desired.
Step 4 – Assembly
- Sew the appliqué panels and pieced blocks together into a full quilt top.
- Press seams flat to reduce bulk.
Step 5 – Quilting
- Layer quilt top, batting, and backing.
- Quilt around patchwork blocks with straight lines to emphasize geometry.
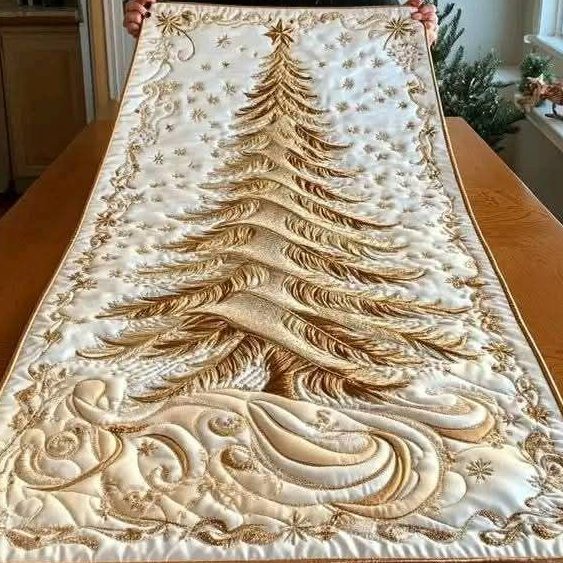
- Quilt around flowers, leaves, and birds with free-motion stitching to add dimension.
- Add wavy or swirl quilting in the background to enhance the garden theme.
Step 6 – Finishing
- Square up the quilt edges.
- Bind with coordinating red or contrasting fabric.
- Label your quilt and enjoy your beautiful creation.
✨ This quilt blends the best of two quilting worlds: structured patchwork and playful appliqué. The result is a bold, cheerful design that celebrates tradition while allowing for creative expression.