Log Cabin Straight Furrows Quilt – Step by Step
Few quilt blocks are as iconic and versatile as the Log Cabin. With its strong geometry and endless layout possibilities, it has been a favorite of quilters for generations. The design is built from a central square, often red to represent the hearth of a home, and surrounded by strips (or “logs”) added in sequence. This creates a block that radiates balance, warmth, and tradition.
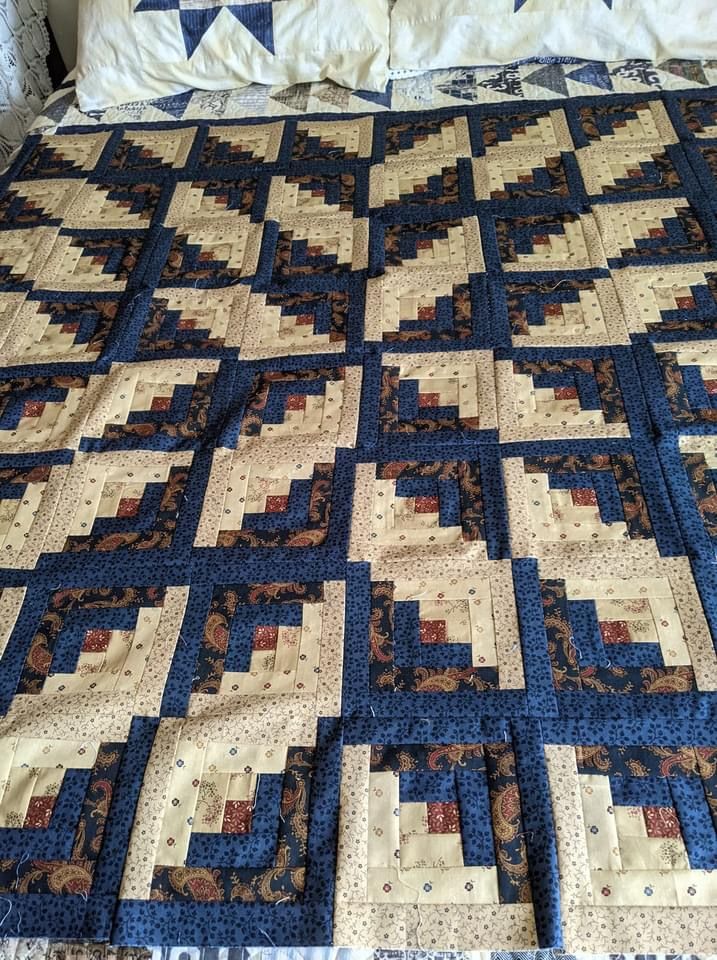
The quilt in the photo uses a Straight Furrows layout, where alternating light and dark strips are arranged diagonally across the quilt top. This arrangement produces a striking sense of movement, almost like fields being plowed in rows. The contrast between navy blues, creams, and soft beige tones, along with the small red center squares, creates a timeless and classic effect.
One of the best aspects of the Log Cabin is that it adapts beautifully to both scraps and planned fabric selections. Whether you prefer using coordinated collections or want to reduce your stash of leftover strips, the block grows easily round by round, making it an approachable project for quilters of all levels. Each block is a small accomplishment that quickly builds into a stunning quilt top.
Even though the finished design looks intricate, the process is straightforward: cut strips, sew them around the center square in order, and press as you go. Once you have enough blocks, the magic happens when you arrange them into layouts such as Barn Raising, Fields and Furrows, or Courthouse Steps. For this project, we’ll walk through the steps to make the Straight Furrows version.
Materials
- Assorted fabrics in dark (navy/blue, brown) and light (cream, beige) values
- Red fabric for center squares
- Rotary cutter, ruler, mat, and iron
- Sewing machine and thread
Cutting (for 12″ finished block with 1.5″ wide strips)
- Red center square: 2.5″ × 2.5″
- Strips: Cut light and dark strips at 1.5″ wide.
- Lengths needed: 2.5″, 4.5″, 6.5″, 8.5″, 10.5″, 12.5″ (one of each light and dark per block side).
Step-by-Step
Step 1 – Center
- Begin with a 2.5″ red square. This is the heart of the block.
Step 2 – First Round
- Sew a 1.5″ × 2.5″ light strip to the right side. Press.
- Sew a 1.5″ × 3.5″ dark strip across the bottom. Press.
- Continue around, adding one light and one dark strip in a clockwise fashion.
Step 3 – Build Rounds
- Continue sewing strips, alternating light on one side and dark on the other.
- After each strip, press outward and trim flush.
- By the 5th round, your block should measure 12.5″ unfinished (12″ finished).
Step 4 – Assemble the Top
- Lay out your blocks in rows, alternating light and dark diagonals to create the Straight Furrows effect.
- Sew blocks into rows, then sew rows together. Press well.
Step 5 – Finish
- Add borders if desired.
- Layer with batting and backing, baste, and quilt along the furrows to emphasize the diagonal flow.
- Bind to finish.
✨ This quilt is traditional, dramatic, and perfect for showcasing both fabric choices and the timeless charm of the Log Cabin block.