Quilted Patchwork Dogs: A Step-by-Step Guide
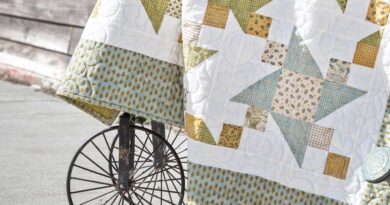
Quilting is one of the most versatile and heartwarming crafts. It allows us to combine fabric scraps, textures, and creativity into something that tells a story. Beyond quilts and wall hangings, patchwork can also be used to create soft toys and decorative objects, adding charm and personality to any space. One of the most delightful examples of this is the patchwork dog — a whimsical and cozy project that brings fabric to life in the shape of an adorable stuffed puppy.
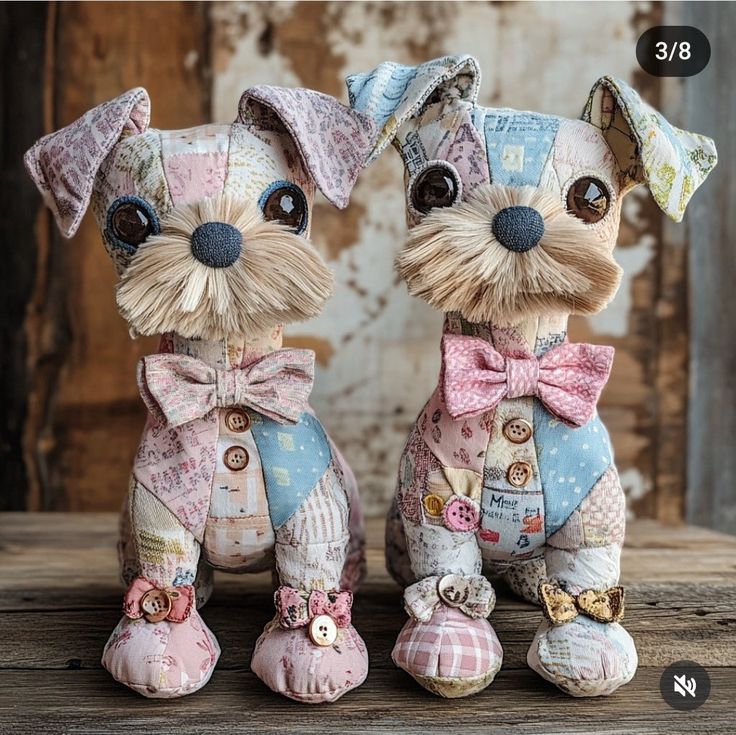
These quilted dogs are not only beautiful as decorative pieces but also make perfect gifts for children, pet lovers, or anyone who appreciates handmade creations. Each piece is unique, with buttons, bows, and fabric combinations that give the toy its own character. The process is a wonderful way to use up small fabric scraps and try different quilting techniques on a smaller scale.
Crafting quilted dogs is also a relaxing and rewarding activity. It combines sewing, quilting, and a touch of toy-making, making it suitable for crafters of various skill levels. Beginners can focus on simple fabric combinations, while advanced quilters can experiment with intricate patchwork designs and embellishments. The result is always delightful — a handmade dog that looks charming on a shelf, bed, or as part of seasonal décor.
In this tutorial, we’ll walk through the process of making your own quilted patchwork dog step by step. From selecting fabrics and cutting pieces to sewing the body and adding the finishing touches like the bowtie and buttons, you’ll learn how to create a unique quilted toy that reflects your personal style. Let’s get started!
Step-by-Step Tutorial: Quilted Patchwork Dogs
Materials Needed:
- Assorted fabric scraps in coordinating colors (cotton or quilting fabric works best)
- Sewing machine and matching thread
- Scissors or rotary cutter
- Pins or fabric clips
- Toy stuffing (polyfill or cotton)
- Buttons for eyes, body details, and paws
- Small fabric pieces for bowties
- Needle for hand sewing
Step 1: Prepare Your Fabric Pieces
Choose a color palette — pastel tones, brights, or earthy colors. Cut small squares or rectangles of fabric to create the patchwork. Sew them together to form larger quilted panels. These panels will be used to cut the dog’s body, ears, legs, and head pieces. Press the seams flat for a neat finish.
Step 2: Cut the Pattern Pieces
Using a dog-shaped soft toy template (or by sketching your own), cut out the body parts from your quilted panels: front, back, ears, legs, and snout. Make sure you cut two of each piece that requires symmetry. Keep in mind to leave seam allowances for sewing.
Step 3: Assemble the Body
Begin by sewing the body pieces together, right sides facing. Attach the legs and ears carefully, ensuring they are aligned. Once the main body shape is sewn, leave a small opening for stuffing.
Step 4: Add Details
Before stuffing, sew on the buttons for eyes and paws. Add a nose using a small circle of fabric or felt. For extra personality, make a bowtie out of fabric scraps and attach it to the dog’s neck. Decorative buttons down the chest add a playful touch.
Step 5: Stuff and Finish
Fill the dog with stuffing, making sure to reach the ears and legs for a plump, even shape. Once stuffed, hand-sew the opening closed with small, neat stitches. Fluff up the fur details (like the muzzle) using strips of fabric or yarn for a realistic, playful look.
Final Thoughts
Your quilted patchwork dog is now complete! These charming stuffed dogs are a wonderful way to combine quilting and toy-making in one project. Each one will be unique depending on your fabric choices and embellishments, making them perfect as personalized gifts or special keepsakes.