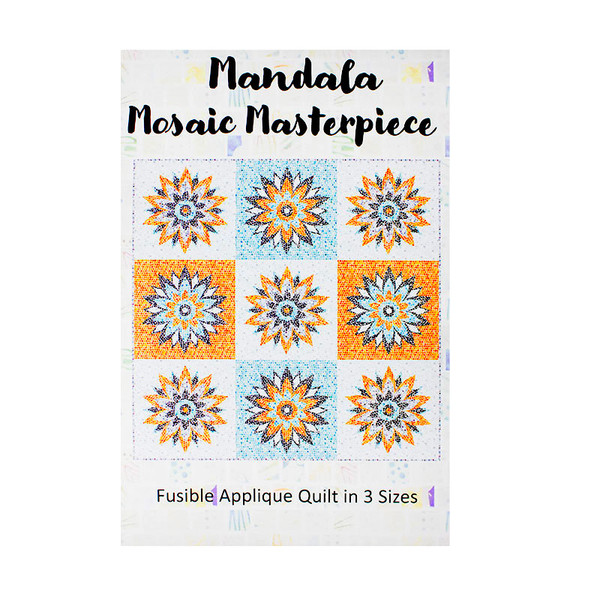
Mandala Mosaic Quilt: A Step-by-Step Masterpiece
There’s a unique magic that comes from combining precise geometry with the softness of fabric—especially in a quilt as breathtaking as this Mandala Mosaic masterpiece. With intricate symmetry and earthy tones, this quilt transforms any room into a gallery of handmade elegance. It’s more than just sewing; it’s an artistic expression stitched together with patience and love.
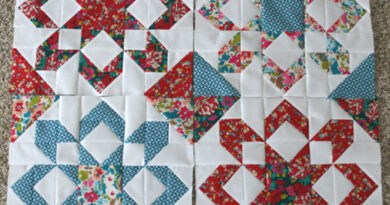
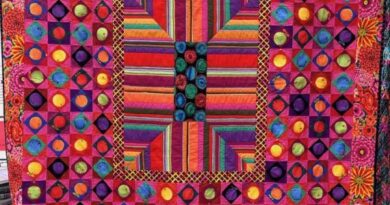
This quilt features a mandala-inspired central medallion, expanding outward in layers of carefully constructed shapes, curves, and floral elements. The complexity of this design is beautifully balanced by the rhythm of repetition, making each block part of a greater visual harmony. Though it appears intricate, breaking it down into manageable components makes it accessible to intermediate and experienced quilters alike.
Not only is this project a feast for the eyes, but it’s also deeply satisfying for those who love detail work—whether in precision piecing, raw edge applique, or strategic quilting. The interplay of embroidery-style lines and curved petals gives the quilt a dramatic, tile-like texture.
Whether you’re aiming to display this as a floor quilt, a wall hanging, or a luxurious throw, the impact will be unforgettable. Now, let’s begin creating your very own mandala mosaic quilt.
Materials Needed
- Assorted fabrics in earthy tones (greens, rusts, creams, browns)
- Fusible web for applique
- Lightweight batting
- Backing fabric
- Quilting thread in matching and contrast tones
- Rotary cutter, mat, and ruler
- Compass or circular templates
- Basic sewing tools and machine
Step-by-Step Instructions
Step 1: Plan the Color Layout
Sketch the full layout or use digital software to preview how colors will radiate from the center outward. This quilt thrives on symmetry, so choose a balanced palette and define your medallion center clearly.
Step 2: Cut the Tiles
Each square “tile” of the quilt is a quilt block. Cut your base squares—roughly 12″x12″—from a light background fabric. These will serve as canvases for your curved appliqué or pieced motifs.
Step 3: Prepare the Appliqué Motifs
Using curved petal and leaf templates (you can draft them or trace from your image), cut out symmetrical shapes from your fabrics. Apply fusible web to the back before cutting, so they’re ready to fuse.
Step 4: Assemble Each Tile
Arrange your cut pieces onto each square, using your layout sketch as a guide. Once satisfied with the positioning, press to fuse. Then, use a tight zigzag or decorative stitch to secure the raw edges.
Step 5: Quilt as You Go (Optional)
Quilt each tile individually using intricate free-motion quilting patterns to emphasize the mandala curves and floral petals. This method makes it easier to handle complex quilting.
Step 6: Join the Blocks
Using a quilt-as-you-go joining method or traditional piecing, stitch your blocks together, aligning carefully to preserve the mandala continuity across seams.
Step 7: Add the Border
Frame the quilt with a coordinating border using straight strips or pieced elements to maintain the visual theme. Consider echoing the mandala shapes in the corners for extra detail.
Step 8: Final Quilting and Binding
If you haven’t quilted earlier, now quilt the entire piece, focusing on enhancing the symmetry and flow of the design. Add the final binding using a hand or machine finish.